August 18, 2026 · 6 min read
Dental Photography Guide: Equipment and Step-by-Step Shooting Technique
Dental photography needs less equipment than most clinics expect: a recent smartphone or a DSLR with a macro lens, one even light source, cheek retractors and an intraoral mirror. What separates great clinical photos from average ones isn't the gear — it's a fixed setup and a repeatable shooting routine.
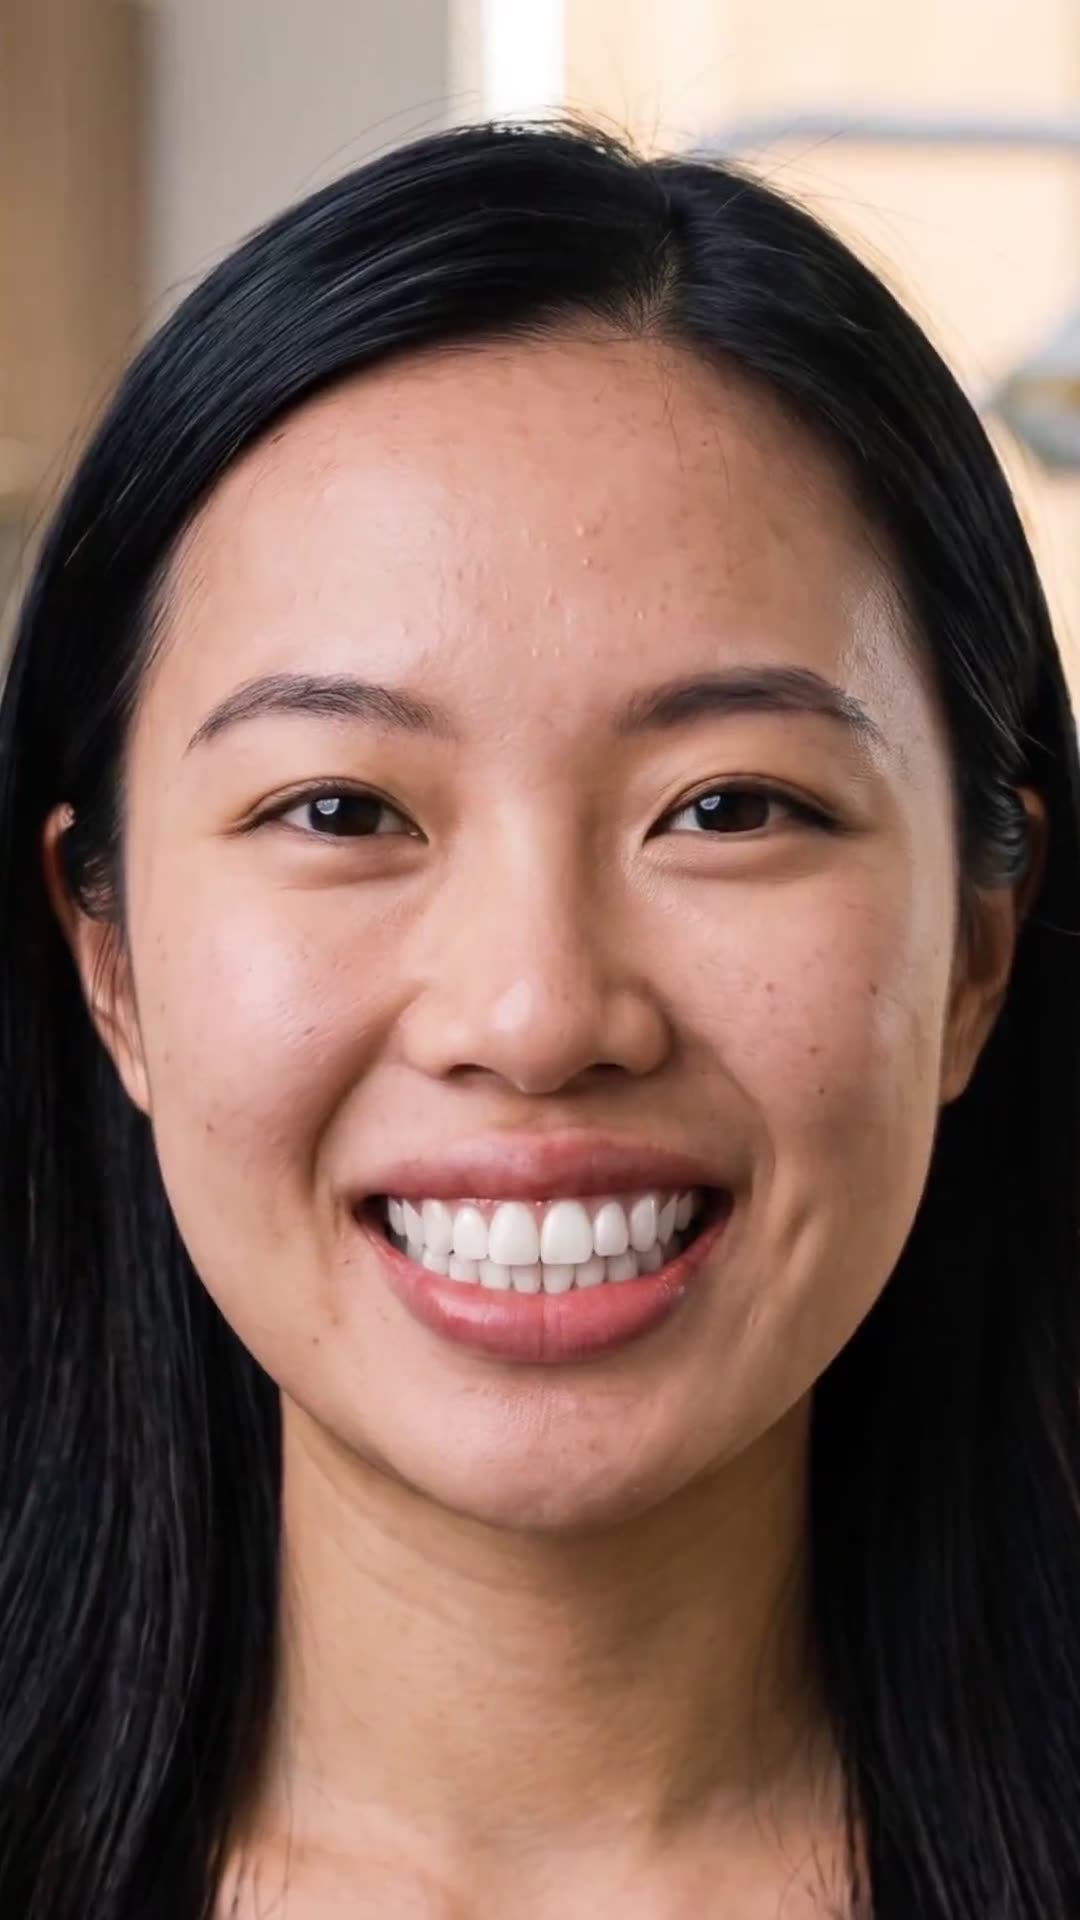
Turn your case photos into videos with DentalReels
Everything in this guide takes minutes with DentalReels: pick a dental template, add your before/after photos, and export a vertical HD video ready for Instagram, TikTok and YouTube. Free on iOS and Android.
The equipment that matters
- Camera: a recent smartphone covers social media completely; a DSLR/mirrorless with a 100mm macro lens adds detail for clinical documentation and print.
- Light: one ring light (or ring flash on a DSLR) positioned behind the camera — even, shadow-free, always identical.
- Cheek retractors: a few sizes; they make the difference between a partial view and a full-arch clinical photo.
- Intraoral mirrors: for occlusal and lingual views; warm briefly to prevent fogging.
- A plain background and two tape marks on the floor — the cheapest equipment with the biggest effect on consistency.
- Optional: a small tripod with a phone mount, so framing never drifts between sessions.
Step-by-step shooting routine
- 1
Set the stage
Patient on the marked spot, camera on its mark, ring light on. Wipe the lens, turn on the grid, and lock focus and exposure on the teeth.
- 2
Frontal series
Eye-level frontal smile first — the anchor image. Then a relaxed-lip and a full-smile version; three frames, keep the most natural.
- 3
Angled views
45-degree left and right, same distance, same height. These show facial harmony changes from veneers, implants and orthodontics.
- 4
Retracted views
Cheek retractors in, frontal retracted shot of both arches. This is the honest clinical record — and the pair that makes orthodontic progress videos striking.
- 5
Detail close-ups
Macro or close-up of the treated area: shade detail for whitening, texture for bonding, margins for restorations.
- 6
File immediately
Move photos into the case folder with the date before the next patient. A photo you can't find later is a photo you never took.
From documentation to content
Shot with this routine, every case produces social-ready material automatically: the frontal pair becomes a before-and-after reveal, the retracted pair documents clinical change, the close-up carries a whitening video. Drop any consistent pair into a DentalReels template and the guide's payoff appears on screen — a smooth, professional transformation video made from photos you were taking anyway.
Frequently asked questions
- Do I need a DSLR for dental photography?
- Only for print-quality documentation or macro detail work. For social media, patient communication and before/after videos, a recent smartphone with locked focus, a ring light and a fixed protocol produces excellent results. Many high-performing dental accounts run entirely on phone photography.
- What is the ideal camera setting for intraoral photos?
- On a phone: 1x lens or macro mode, grid on, focus and exposure locked on the teeth, flash off with the ring light doing the work. On a DSLR: around f/22 for depth of field, ISO 100–200, 1/125s with a ring flash — then keep those settings identical for every session.
- How do I stop intraoral mirrors from fogging?
- Warm the mirror briefly before use — in warm water or against the patient's cheek for a few seconds — and work quickly. A gentle stream of air from the three-way syringe onto the mirror surface during the shot also keeps it clear.
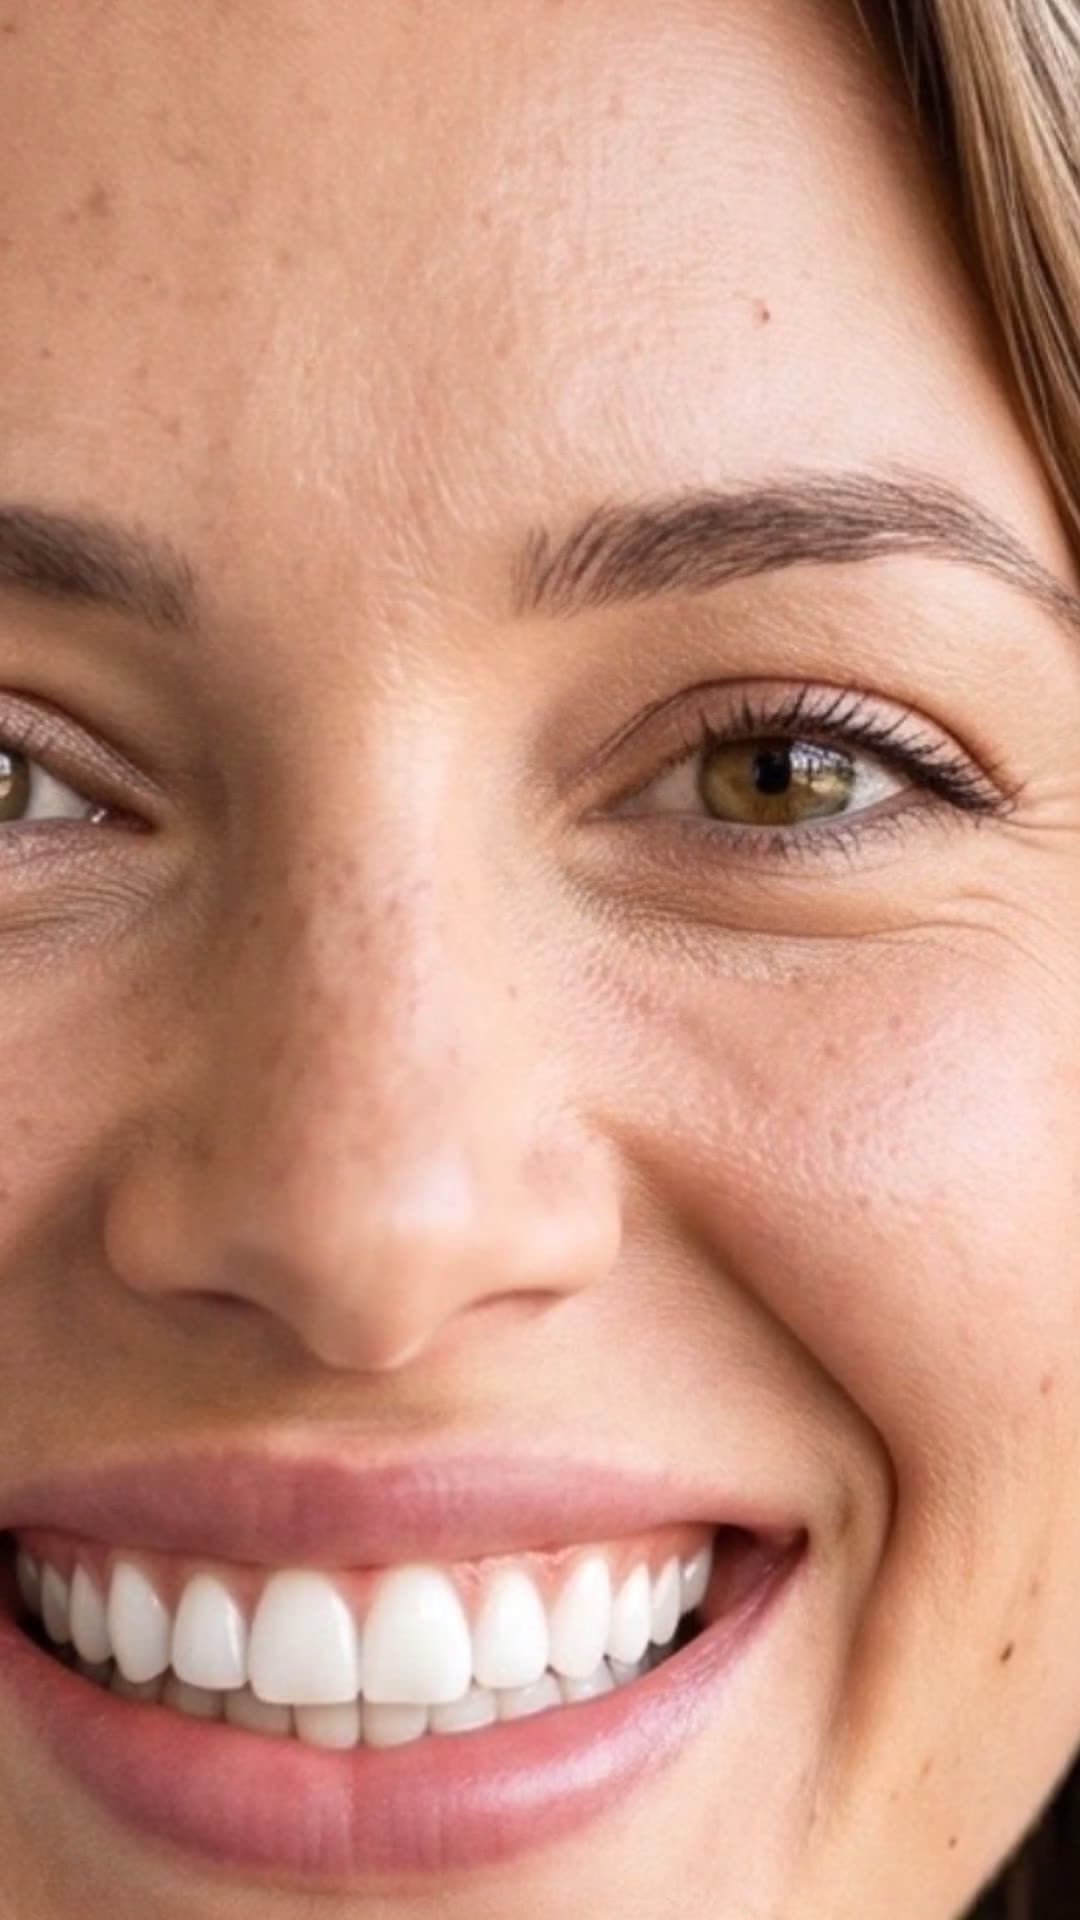
Turn your case photos into videos with DentalReels
Everything in this guide takes minutes with DentalReels: pick a dental template, add your before/after photos, and export a vertical HD video ready for Instagram, TikTok and YouTube. Free on iOS and Android.
Keep reading
Dental Before/After Photos: The Protocol That Makes Videos Work
How to take dental before and after photos: consent, the standard shot series, the consistency protocol and how to turn photo pairs into social media videos.
6 min read
How to Take Consistent Before-and-After Dental Photos (Free Protocol + Checklist)
A free, repeatable protocol for consistent before-and-after dental photos: fixed setup, camera settings, patient positioning and a printable checklist.
5 min read
Dental Video Shooting Techniques: Lighting, Angles & Phone Settings
The complete technique guide for dental video recording: lighting setups, camera angles, smartphone settings, stabilization and the mistakes that ruin clinical footage.
7 min read
How to Make a Dental Video: Step-by-Step Guide for Clinics (2026)
How to make a dental video in 5 steps: consent, before/after photos, template, music and export. A practical guide for dentists — no editing skills required.
6 min read