October 6, 2026 · 8 min read
Veneers Before and After: How to Photograph and Present Cases
A veneers before and after is a matched set of photos or a video showing the same patient's smile before veneer treatment and after the final veneers are bonded, taken with identical framing, lighting and camera settings so the change is honest and easy to read. For a cosmetic dentist it is both an essential clinical record and the most persuasive marketing asset you own. This guide covers how to capture the veneers before and after process, photograph it consistently, present composite and porcelain cases honestly and turn them into video without over-retouching.

Turn your cases into videos and posts with DentalReels
Everything in this guide takes minutes with DentalReels: pick a dental template, add your before/after photos, and export a vertical HD video ready for Instagram, TikTok and YouTube. Free on iOS and Android.
What a good veneers before and after should show
Patients look at veneer cases for one reason: to judge whether your work looks natural. That means the before and the after must be directly comparable. Same head position, same lens and magnification, same flash setup, same white balance and the same crop. If anything changes besides the teeth, viewers either distrust the result or cannot read it.
A complete case also shows more than one image. The full smile in the context of the lips and face shows the aesthetics, the retracted frontal view shows shape, proportion and gingival harmony, and an anterior close-up shows surface texture and incisal translucency. Strong veneer portfolios include all three for every case they publish.
The veneers before and after process: what to capture at each stage
The best veneer content is planned at the consultation, not found at the end. Capture these stages as part of your clinical routine and you will always have a complete, consistent story to tell.
- 1
Consultation records
Full face at rest and smiling, full smile, retracted frontal and lateral views, occlusal views and a shade photo with a shade tab in the frame. Take them before any isolation, while the teeth are hydrated.
- 2
Mock-up or wax-up
Photograph the mock-up in the mouth from the same angles as the consultation set. It supports the patient conversation and shows your planning when you present the case later.
- 3
Preparation, if any
Record prepared teeth with a shade tab for the lab. Keep these images for clinical records and lab communication; most patients do not need to see them on social media.
- 4
Provisionals
A quick set of the temporaries documents the transition and gives you material for process stories with the patient's consent.
- 5
Try-in
Photograph shape and shade confirmation before bonding, ideally with the same shade tab you used at the consultation.
- 6
Bonding day
Take a set after cementation, knowing that teeth isolated during bonding can dehydrate and look lighter for a while and that the gums may be slightly irritated.
- 7
Review appointment
Retake the full series once tissues have settled. This is usually the most honest after set and the one to use for your portfolio and social media.
How to photograph veneers: camera settings and the standard series
Use a DSLR or mirrorless camera with a 100 mm macro lens and a ring or twin flash. Choose your settings once, write them down and use them for every veneer case, so before and after match automatically without editing.
- Retracted intraoral views: manual mode, f/22 to f/32, 1/125 to 1/200 s, ISO 100 to 200, with a fixed magnification for the frontal view so every case is shot at the same scale.
- Anterior close-up: a higher magnification, around 1:1 to 1:1.5, to show texture and incisal translucency, with a black contrastor behind the incisors to isolate the edges.
- Full smile and portrait: open the aperture to around f/8 to f/11 at the same shutter speed, with diffused twin flash or a softbox for even light on the face.
- Shade documentation: hold the shade tab in the same plane as the teeth; cross-polarized images help show internal color and characterization without glare.
- Positioning: same head orientation, occlusal plane level, camera at the height of the incisal edges and the dental midline centered in the frame.
- White balance: a fixed value, such as a flash preset or a custom setting, never auto, so shade comparisons are meaningful.
- Smartphone clips: if you film social content on a phone, keep the distance, angle and light identical every time, and treat it as marketing content alongside, not instead of, your clinical series.
Composite vs porcelain veneers: how to present each before and after
Composite and porcelain veneers can both give beautiful results, but they are different treatments and patients deserve to know which one they are looking at. Label every case with the material, the number of units and whether the teeth were prepared, so nobody assumes a composite result came from porcelain or the other way round.
For composite cases, highlight the craft: layering, shaping and polishing, and a conservative approach where that applies. For porcelain cases, highlight planning, the mock-up and the lab partnership. In both, a review photo taken later is valuable because it shows how the result looks in everyday life rather than on the day.
- Caption format: material, number of units, prep or no-prep, number of visits, and credit to the ceramist or team.
- Never mix composite and porcelain cases in one carousel without clear labels.
- Do not compare your composite case with someone else's porcelain case, or the reverse.
- If the patient whitened before veneers, say so; it explains why neighboring teeth look different from the before photo.
Veneer video ideas for Reels, TikTok and Shorts
Video makes a veneer case easier to read than a static side-by-side, as long as the photos underneath are consistent. DentalReels has veneer animation templates and before and after reveals that export as vertical Full HD 9:16 video with your clinic name at the end, plus eye-hiding privacy templates for patients who want their smile shown but their identity protected.
- Classic reveal: the before holds for a beat, then a wipe or slide to the after, all in under ten seconds.
- Retracted to smile: open on the retracted after, then cut to the natural smile so viewers see detail and context.
- Shade tab story: the shade tab next to the before and next to the final, in identical light.
- Mock-up to final: show the mock-up try-in, then the bonded veneers, to explain how the result was planned.
- Veneer animation explainer: an animation of thin veneers fitting onto the teeth, useful for patients who are unsure what a veneer actually is.
- Lab collaboration: your ceramist at work, credited by name with their permission.
- First look: the patient seeing the result in a mirror, filmed only with consent.
- Bonding day timeline: a quick sequence from shade check to final polish.
- Myth vs fact: common beliefs, such as veneers always looking artificial, answered with your natural-looking cases.
- Review visit: the same patient months later, showing healthy gums and stable veneers.
How to avoid over-retouching veneers before and after photos
Retouching is where veneer marketing loses trust. Patients and colleagues notice a smoothed gum line or brightened teeth, and regulators in many countries treat altered clinical images as misleading. The rule is simple: make any adjustment identically to the before and the after, and never change the teeth, gums or lips.
- Acceptable: cropping, straightening rotation and global exposure or white balance corrections applied identically to both images.
- Not acceptable: whitening the teeth, smoothing or recontouring the gums, removing stains or plaque in only one image, reshaping lips, skin smoothing or face filters.
- Not acceptable: AI tools that change the dentition in any way; AI effects in a video should happen around the real photos, never on the teeth.
- Keep the unedited originals with the patient's record, so you can show exactly what was captured if anyone asks.
Consent for veneer before and after photos
Clinical photos taken for records are not automatically approved for marketing. Ask for separate written consent that names the images, the channels such as your website, social media or paid ads, and how the patient can withdraw. Keep the signed form with the patient's record.
Veneer cases are often full-face, so identity is the main concern. Offer clear choices: full face, smile only, or full face with the eyes hidden. Rules differ by country, so check your dental board or association's guidance and, in the US, your HIPAA obligations. Our guides to patient photo consent forms and to whether dentists can post before and after photos cover this in more depth.
Common mistakes in veneers before and after posts
- Different lighting, angles or magnification between before and after.
- Using only bonding-day photos, when dehydration can exaggerate brightness.
- No label for the material or number of units.
- Posting only dramatic full-mouth cases, so patients with smaller concerns assume veneers are not for them.
- Captions that promise a perfect, painless or permanent result.
- Using a patient's photos in ads when the consent only covered organic social posts.
Frequently asked questions
- How do you take veneers before and after photos?
- Use a DSLR or mirrorless camera with a 100 mm macro lens and ring or twin flash, set manually at around f/22 to f/32, 1/125 to 1/200 s and ISO 100 to 200 for intraoral views. Capture the full smile, retracted frontal and an anterior close-up with a shade tab, and repeat the identical setup at the review appointment.
- What is the veneers before and after process from a photography point of view?
- Photograph the consultation records before any isolation, then the mock-up, any preparation for the lab, the provisionals, the try-in, bonding day and finally a review appointment. The review set is usually the most honest after, because the teeth are rehydrated and the gums have settled. Use the same settings at every stage.
- Should composite and porcelain veneers be labelled in before and after posts?
- Yes. Label every veneers before and after with the material, the number of units and whether the teeth were prepared. Composite and porcelain are different treatments, and clear labels prevent patients from assuming one result came from the other. It also makes your consultations easier, because patients arrive with realistic expectations of each option.
- Is it okay to edit veneers before and after photos?
- Only global, identical edits are appropriate: cropping, straightening and the same exposure or white balance correction applied to both images. Never whiten teeth, smooth gums, remove stains in one image, reshape lips or use face filters, and never let AI alter the dentition. Keep the unedited originals with the patient record.
- Can I use veneers before and after photos in ads?
- Possibly, but check three things first. The patient's written consent must cover paid advertising, not only organic posts. Advertising platforms may restrict or closely review before-and-after imagery in health and cosmetic ads. And your dental regulator may have its own rules on how results are shown. Review current policies before every campaign.
- Why retake veneer photos at a review appointment?
- Teeth isolated during bonding can dehydrate and look lighter and more opaque for a while, and the gums may be slightly irritated after treatment. A review set taken once everything has settled shows the result as the patient will live with it, which is more accurate for your records and more credible for your marketing.
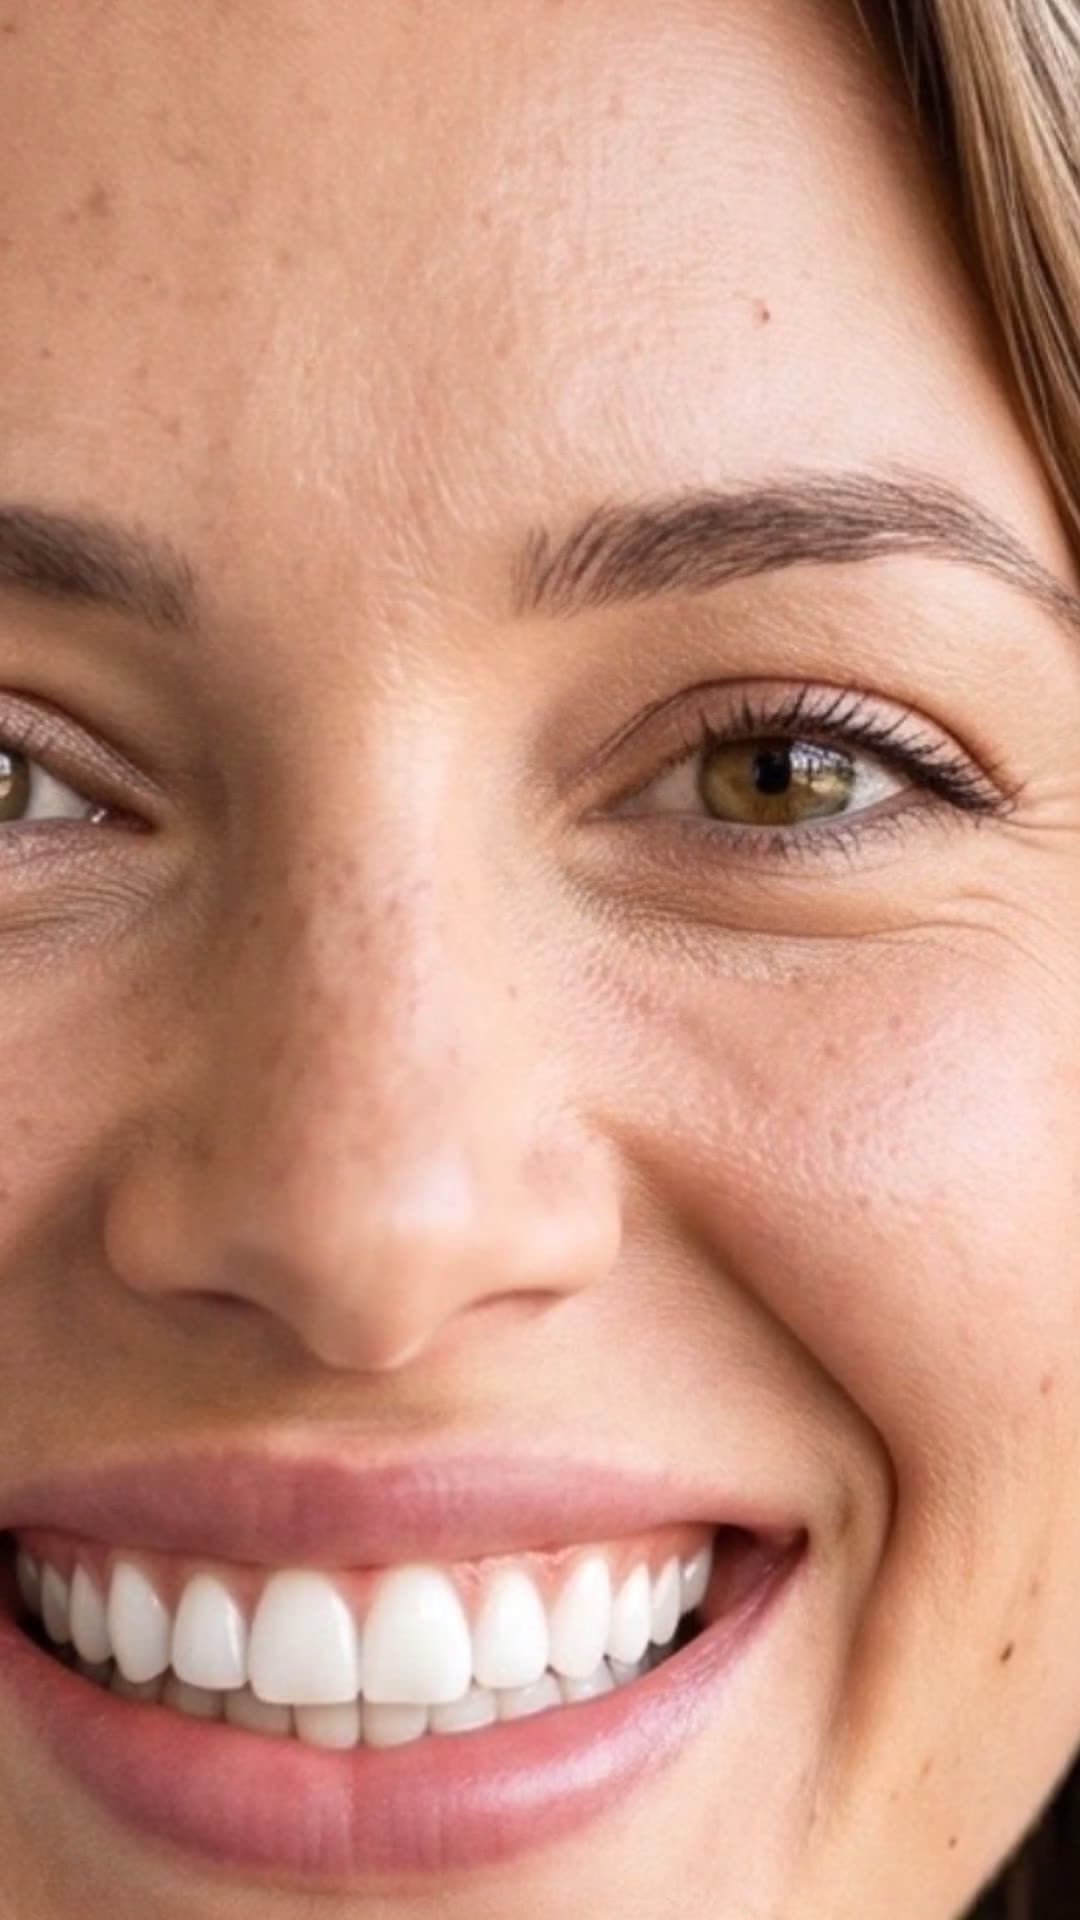
Turn your cases into videos and posts with DentalReels
Everything in this guide takes minutes with DentalReels: pick a dental template, add your before/after photos, and export a vertical HD video ready for Instagram, TikTok and YouTube. Free on iOS and Android.
Keep reading
Smile Design: Principles, Software and Workflow (2026 Guide)
What smile design is, key principles from midline to gingival display, the digital smile design workflow, software options and how to present it to patients.
10 min read
Dental Before/After Photos: The Protocol That Makes Videos Work
How to take dental before and after photos: consent, the standard shot series, the consistency protocol and how to turn photo pairs into social media videos.
6 min read
How to Make a Before-and-After Video for Your Dental Clinic (Step-by-Step)
The complete step-by-step guide to before-and-after videos for dental clinics: photo pairs, templates, reveal timing, captions and posting strategy.
6 min read
Patient Photo Consent Form for Social Media: Free Template for Dentists
What a patient photo consent form for social media should include, how to use it in daily practice, and a free field-by-field template for dental clinics.
5 min read