August 18, 2026 · 7 min read
Dental Video Shooting Techniques: Lighting, Angles & Phone Settings
Good dental video shooting comes down to three rules: even, shadow-free lighting; identical framing between shots; and a steady, vertical camera. Master those three with the phone already in your pocket and your case footage will look professional — the rest is detail.
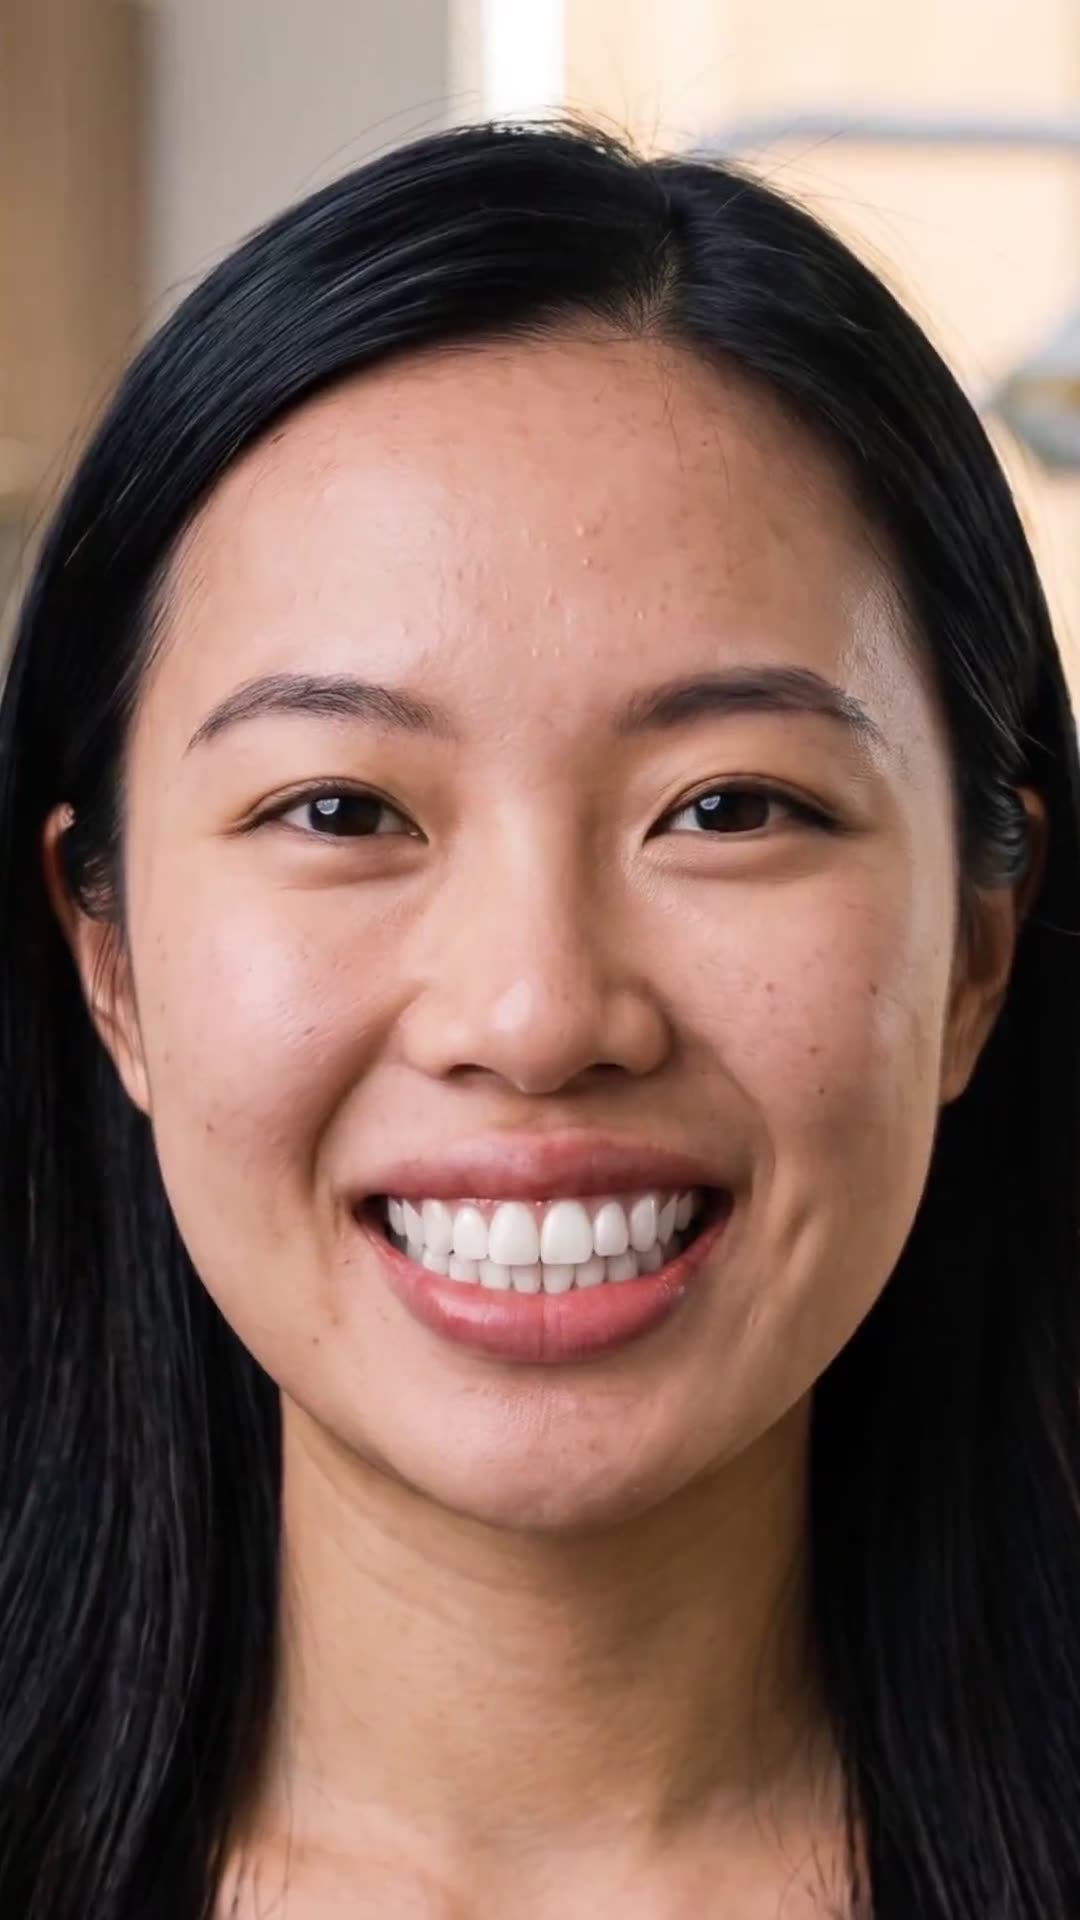
Turn your case photos into videos with DentalReels
Everything in this guide takes minutes with DentalReels: pick a dental template, add your before/after photos, and export a vertical HD video ready for Instagram, TikTok and YouTube. Free on iOS and Android.
Lighting: the factor that makes or breaks dental footage
Shadows and mixed light distort how teeth look — a shade improvement can disappear under yellow room light. The professional standard is even, shadow-free illumination: clinics use ring flashes or twin flashes for photography, and a simple ring light achieves the same effect for phone video.
Three practical rules: never shoot against a window (backlight turns the face into a silhouette), keep the light source behind the camera and pointed at the patient, and use the same light for the before and the after shot — daylight for one and clinic halogen for the other will change tooth color more than the treatment did.
Angles and framing
Dental photography uses a standard series for a reason: a frontal smile shot, a profile view, a retracted view and a close-up together tell the whole story. Pick the shots that suit the case and keep the exact same angle for before and after — same height, same distance, same tilt.
Fill the frame with what matters. For a smile close-up, the lips and teeth should occupy most of the image; for a portrait reveal, keep the eyes visible — smiles read as genuine when the whole face participates.
- Frontal at eye level: the anchor shot for every transformation.
- 45-degree profile: shows facial change from veneers, implants and orthodontics.
- Close-up: whitening, bonding and texture detail.
- Retracted (with cheek retractors): the clinical view that shows the full arch.
Phone settings that matter
- Resolution: 4K at 30fps if storage allows, otherwise 1080p — never below.
- Lock focus and exposure on the teeth (tap and hold on iPhone and most Androids) so brightness doesn't pump mid-shot.
- Turn the grid on and put the eyes or the smile line on a third.
- Clean the lens — one wipe removes the haze that ruins half of all clinic footage.
- Skip the beauty filters: skin smoothing also smooths tooth texture, and unrealistic results damage trust.
Stability and background
A shaky clip reads as amateur before the viewer sees a single tooth. A small tripod with a phone mount solves it; if handheld is the only option, lean elbows on a surface and use both hands.
Keep backgrounds neutral and constant: a plain wall or the same clinic backdrop for every case. Busy shelves and hallway traffic pull attention away from the smile — and a consistent backdrop quietly becomes part of your clinic's visual identity.
Intraoral basics
For inside-the-mouth footage you need two inexpensive tools: cheek retractors so teeth are fully visible, and an intraoral mirror for occlusal and lingual angles. Warm the mirror briefly to stop fogging, work quickly for patient comfort, and get close enough that the arch fills the frame — macro mode on modern phones handles the focus.
The five most common mistakes
- Mixed lighting between before and after shots — the number one credibility killer.
- Shooting horizontal for vertical platforms and losing the sides to cropping.
- Autofocus hunting mid-clip because focus wasn't locked.
- Distracting backgrounds that change from shot to shot.
- Skipping retractors on intraoral shots, hiding the posterior teeth.
Frequently asked questions
- Is a smartphone good enough for dental videos?
- Yes — for social media, any recent smartphone is more than sufficient. Consistent lighting, locked focus and steady framing matter far more than sensor size. A DSLR with a macro lens still wins for clinical documentation and print, but for Instagram, TikTok and YouTube Shorts, the phone in your pocket plus a ring light covers everything.
- Do I need a ring light for dental videos?
- It is the single best cheap upgrade. A ring light gives even, shadow-free illumination, keeps color consistent between before and after shots, and adds a natural catchlight to the eyes in portrait reveals. If you shoot regularly, mount one behind the phone position so every case video gets identical lighting automatically.
- Should dental videos be vertical or horizontal?
- Vertical, 9:16. Instagram Reels, TikTok and YouTube Shorts are all vertical-first, and horizontal clips either get cropped badly or shown smaller with less reach. Shoot vertical from the start rather than cropping later — apps like DentalReels export in the right vertical format for every platform automatically.
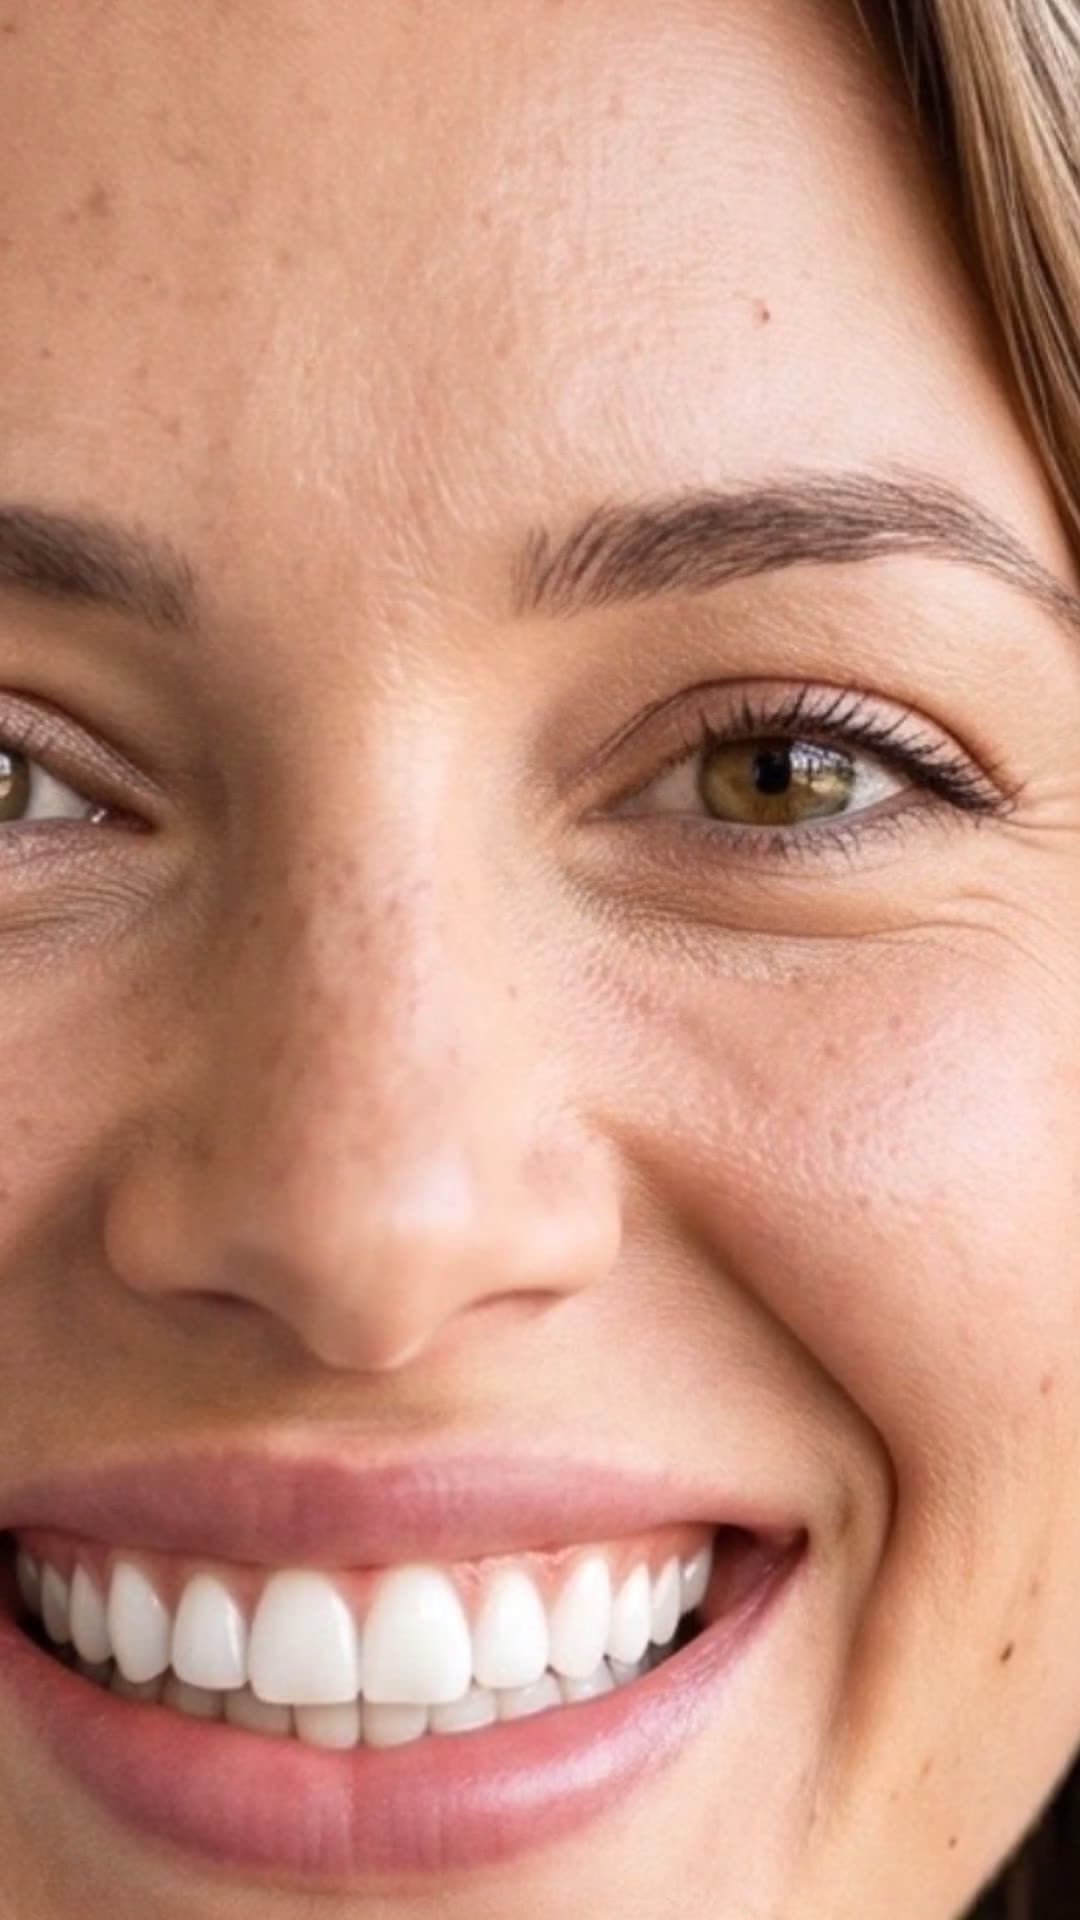
Turn your case photos into videos with DentalReels
Everything in this guide takes minutes with DentalReels: pick a dental template, add your before/after photos, and export a vertical HD video ready for Instagram, TikTok and YouTube. Free on iOS and Android.
Keep reading
How to Make a Dental Video: Step-by-Step Guide for Clinics (2026)
How to make a dental video in 5 steps: consent, before/after photos, template, music and export. A practical guide for dentists — no editing skills required.
6 min read
Dental Photography Guide: Equipment and Step-by-Step Shooting Technique
The complete dental photography guide: what equipment you actually need (phone vs DSLR, ring light, retractors, mirrors) and a step-by-step shooting routine.
6 min read
How to Make a Before-and-After Video for Your Dental Clinic (Step-by-Step)
The complete step-by-step guide to before-and-after videos for dental clinics: photo pairs, templates, reveal timing, captions and posting strategy.
6 min read
AI Dental Video Generator: How to Make Dental Videos with AI (2026 Guide)
What an AI dental video generator does, what it doesn't, and how to turn a before/after photo pair into a cinematic Reels, TikTok or Shorts video in one tap — with photo tips and an honest look at ethics.
6 min read