August 18, 2026 · 6 min read
Dental Before/After Photos: The Protocol That Makes Videos Work
Great dental before/after photos follow one golden rule: shoot the after photo with exactly the same angle, distance, lighting and background as the before photo. When only the teeth change between the two frames, the transformation becomes undeniable — and the photo pair is ready to become a video.
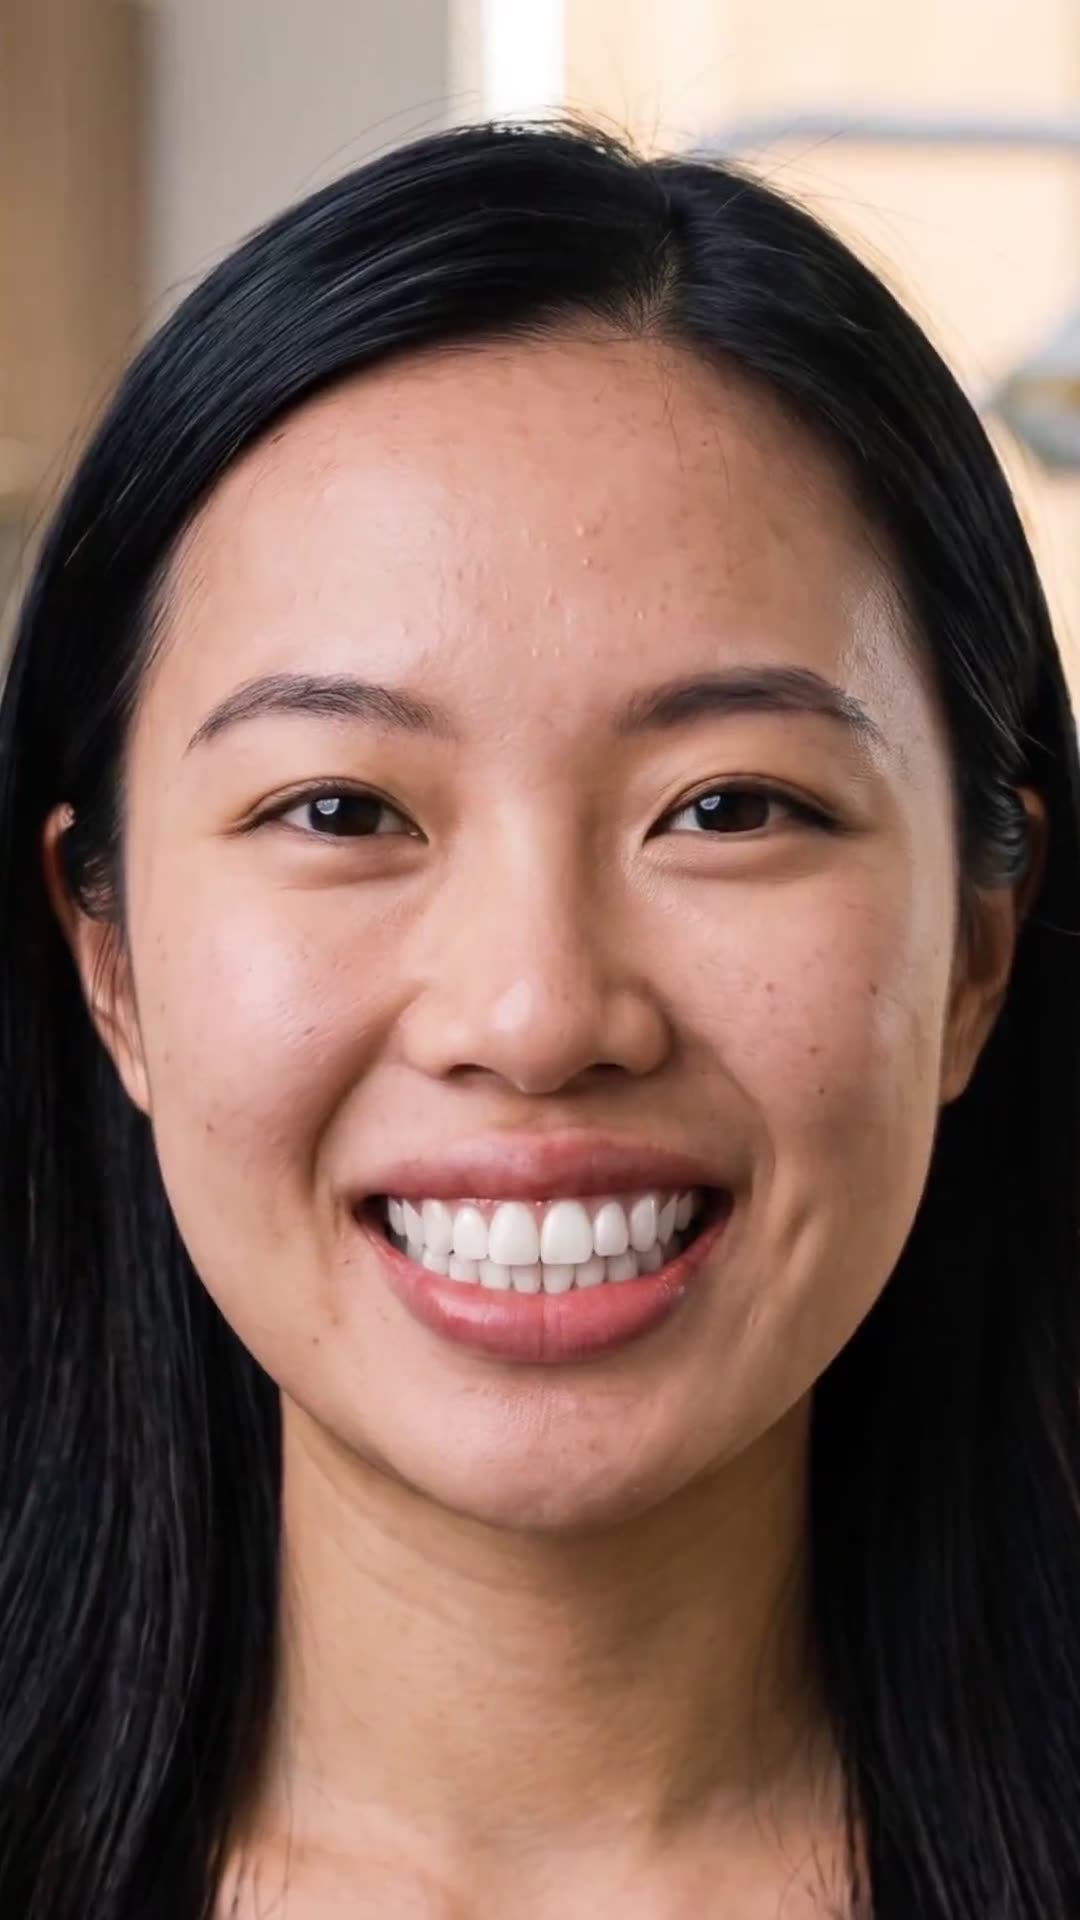
Turn your case photos into videos with DentalReels
Everything in this guide takes minutes with DentalReels: pick a dental template, add your before/after photos, and export a vertical HD video ready for Instagram, TikTok and YouTube. Free on iOS and Android.
Consent comes first
Before/after photos are patient data. Use a written consent form that explicitly mentions social media publication — not just clinical records — and keep it filed with the case. Regulations differ (GDPR in Europe, KVKK in Türkiye, HIPAA in the US) but specific written consent is the safe standard everywhere. Offer patients the option of anonymized close-ups if they are happy to share teeth but not their face.
The standard shot series
Professional dental photography uses a repeatable series so every case is documented the same way. You rarely need all of them for social media — but shooting the full series gives you choices later.
- Frontal full smile — the hero shot for reveals.
- Profile and 45-degree views — show facial harmony changes.
- Retracted frontal with cheek retractors — the honest clinical view.
- Occlusal views with an intraoral mirror — upper and lower arches.
- Close-up of the treated area — texture and shade detail.
The consistency protocol
Before/after pairs only convince when everything except the teeth stays identical. Turn that into a checklist your whole team follows:
- Same location and chair for every photo session — mark the floor position if needed.
- Same distance and zoom level — pick one and write it down (for example: arm's length, 1x lens).
- Same lighting — the same ring light at the same position, never a window one day and ceiling light the next.
- Same background — one neutral wall, always.
- Same expression instruction — say the same phrase to the patient ("big natural smile") both times.
- Photograph the before at the first appointment, always — you cannot go back for it later.
Common flaws that ruin the pair
- Lipstick, heavy makeup or different grooming in only one of the photos — it shifts attention and looks staged.
- Wet teeth in one shot and dry in the other — saliva reflects light and changes apparent shade.
- Different head tilt — even five degrees breaks the mirror effect.
- Editing or whitening the after photo — if the result needs a filter, the photo isn't ready.
- Shooting the after photo immediately after a whitening session under different light — wait for the shade to stabilize and use the standard setup.
From photo pair to video
A consistent photo pair is already 90% of a great video. Drop the two photos into a before/after template in DentalReels: the app aligns them, animates the reveal, adds music and exports a vertical HD clip for Instagram Reels, TikTok and YouTube Shorts. The better your photo protocol, the more dramatic the animated transition — the template can only be as clean as the pair you feed it.
Frequently asked questions
- Which photos work best in before/after video templates?
- Frontal smile shots taken from the same angle, distance and lighting work best, because the template's transition morphs between two nearly identical frames. Retracted and close-up pairs also work well for clinical audiences. Avoid pairs with different backgrounds or head positions — the animation will emphasize every inconsistency instead of the result.
- How many photos do I need for a dental video?
- Two is enough for a classic before/after reveal — one before, one after, shot with the same setup. Some templates support more frames, which suits orthodontic progress: a photo per month becomes a timelapse of the alignment. Shoot the full standard series at each visit and you will always have material to choose from.
- Can I use old case photos in videos?
- Yes, if two conditions are met: the patient's consent covers social media use, and the before/after pair is reasonably consistent in angle and lighting. Archives full of well-shot cases are a goldmine — a clinic can fill months of content from past work while new cases are documented with the full protocol.
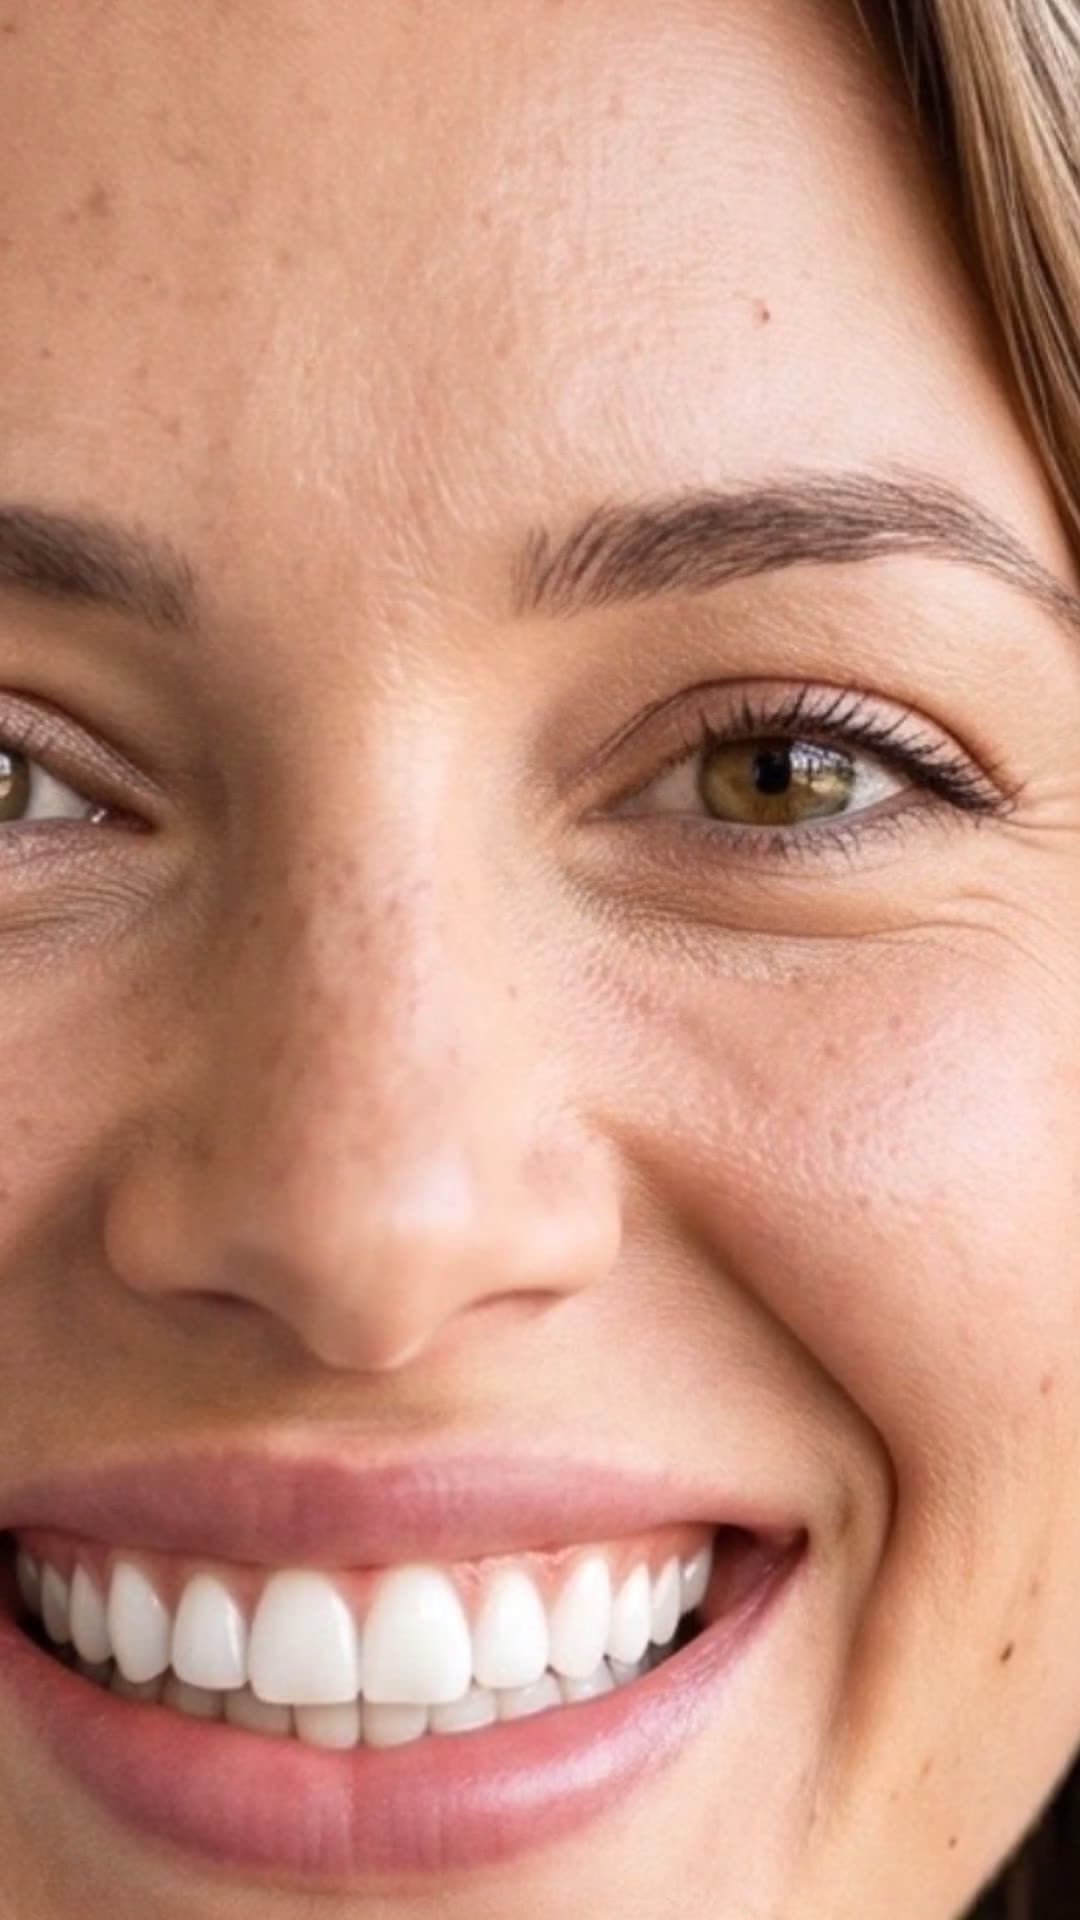
Turn your case photos into videos with DentalReels
Everything in this guide takes minutes with DentalReels: pick a dental template, add your before/after photos, and export a vertical HD video ready for Instagram, TikTok and YouTube. Free on iOS and Android.
Keep reading
How to Take Consistent Before-and-After Dental Photos (Free Protocol + Checklist)
A free, repeatable protocol for consistent before-and-after dental photos: fixed setup, camera settings, patient positioning and a printable checklist.
5 min read
Dental Photography Guide: Equipment and Step-by-Step Shooting Technique
The complete dental photography guide: what equipment you actually need (phone vs DSLR, ring light, retractors, mirrors) and a step-by-step shooting routine.
6 min read
How to Make a Before-and-After Video for Your Dental Clinic (Step-by-Step)
The complete step-by-step guide to before-and-after videos for dental clinics: photo pairs, templates, reveal timing, captions and posting strategy.
6 min read
How to Make a Dental Video: Step-by-Step Guide for Clinics (2026)
How to make a dental video in 5 steps: consent, before/after photos, template, music and export. A practical guide for dentists — no editing skills required.
6 min read