August 18, 2026 · 5 min read
How to Take Consistent Before-and-After Dental Photos (Free Protocol + Checklist)
Consistent before-and-after dental photos come from one habit: locking every variable except the teeth. Same spot, same distance, same light, same framing, same instruction to the patient — repeated at every visit. This protocol turns that habit into a checklist any team member can follow.

Turn your case photos into videos with DentalReels
Everything in this guide takes minutes with DentalReels: pick a dental template, add your before/after photos, and export a vertical HD video ready for Instagram, TikTok and YouTube. Free on iOS and Android.
The five variables to lock
- 1
Location
Choose one photo spot in the clinic — a plain wall with your ring light — and use it for every case. Mark the patient position and the camera position on the floor with tape so setup takes ten seconds.
- 2
Distance and zoom
Pick one distance (for example, arm's length) and one lens setting (1x, no digital zoom) and write them into the protocol. Changing focal length between before and after photos subtly changes facial proportions and breaks the comparison.
- 3
Lighting
Always the same light source at the same position — a ring light behind the camera is the simplest reliable setup. Never mix daylight one visit and ceiling light the next: light color changes apparent tooth shade more than most treatments do.
- 4
Framing
Compose identically every time: eyes on the upper third line, smile centered. Turn the camera grid on and align to the same reference points in both sessions.
- 5
Patient instruction
Say the same phrase before every shot — for example, "big natural smile" — so the expression matches. A relaxed repeat photo beats a forced one; take three and keep the most natural.
The printable checklist
- Photo spot free and background clear
- Ring light on, same position and brightness
- Camera at marked position, 1x lens, grid on
- Lens wiped clean
- Focus and exposure locked on the teeth
- Same instruction given: "big natural smile"
- Frontal, 45-degree and close-up shots taken
- Photos filed to the case with the date
Why consistency pays off twice
First, matched pairs are dramatically more convincing to patients: when everything but the smile stays still, the result is undeniable. Second, matched pairs are what video templates need — apps like DentalReels morph between the two frames, and the cleaner the match, the smoother and more impressive the animated reveal.
Frequently asked questions
- What is the single most important element of consistency?
- Lighting. Identical framing with different light still looks like two different mouths, because light temperature and direction change how enamel color and texture read. If you can only standardize one thing, make it a fixed ring light at a fixed position — it instantly makes pairs comparable.
- Should photos be taken by the same person every time?
- It helps but isn't necessary if the protocol is written down. Marked floor positions, fixed camera settings and a printed checklist mean any trained team member produces the same result. That's the point of a protocol: the setup carries the consistency, not one person's memory.
- How many photos should we take per session?
- A practical minimum is three: frontal smile, 45-degree, and a close-up of the treated area. The full series takes under two minutes once the setup is fixed, and having all three views means you can choose the strongest pair for each video later.
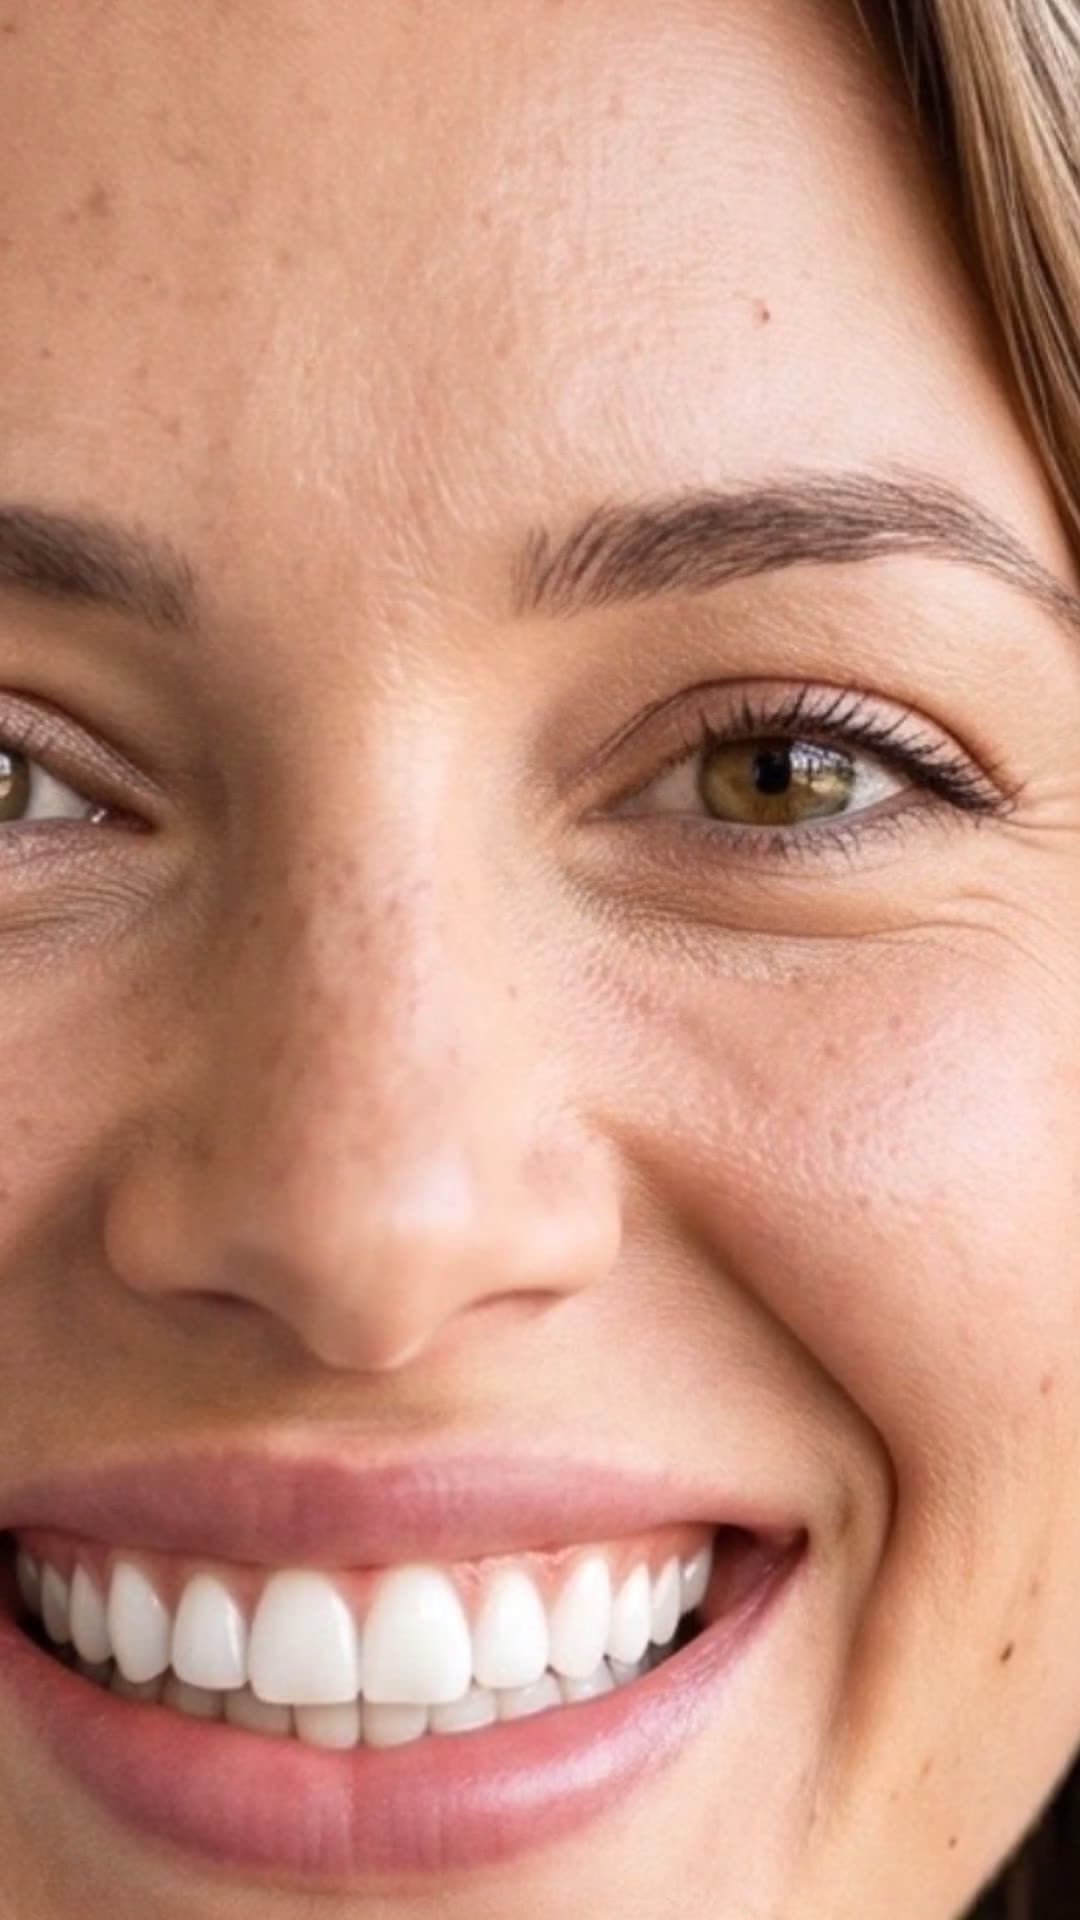
Turn your case photos into videos with DentalReels
Everything in this guide takes minutes with DentalReels: pick a dental template, add your before/after photos, and export a vertical HD video ready for Instagram, TikTok and YouTube. Free on iOS and Android.
Keep reading
Dental Before/After Photos: The Protocol That Makes Videos Work
How to take dental before and after photos: consent, the standard shot series, the consistency protocol and how to turn photo pairs into social media videos.
6 min read
Dental Photography Guide: Equipment and Step-by-Step Shooting Technique
The complete dental photography guide: what equipment you actually need (phone vs DSLR, ring light, retractors, mirrors) and a step-by-step shooting routine.
6 min read
How to Make a Before-and-After Video for Your Dental Clinic (Step-by-Step)
The complete step-by-step guide to before-and-after videos for dental clinics: photo pairs, templates, reveal timing, captions and posting strategy.
6 min read
How to Make a Dental Video: Step-by-Step Guide for Clinics (2026)
How to make a dental video in 5 steps: consent, before/after photos, template, music and export. A practical guide for dentists — no editing skills required.
6 min read