August 18, 2026 · 6 min read
How to Make a Before-and-After Video for Your Dental Clinic (Step-by-Step)
A before-and-after video for a dental clinic is built from two matched case photos — one taken before treatment, one after — animated into a short vertical reveal. With a template app like DentalReels the process takes five steps and a few minutes: prepare the photo pair, pick a reveal template, add music, export and post.

Turn your case photos into videos with DentalReels
Everything in this guide takes minutes with DentalReels: pick a dental template, add your before/after photos, and export a vertical HD video ready for Instagram, TikTok and YouTube. Free on iOS and Android.
What makes before-and-after videos so effective
A before-and-after video compresses your best argument — the visible result — into a three-second story. Viewers don't need captions or explanations: they watch a smile change in front of them. That clarity is why transformation reveals are the most saved and shared format in dental social media, and why they work in every language and every market.
Step-by-step: from case photos to published video
- 1
Start with a consistent photo pair
The video can only be as good as its ingredients. Use a before photo and an after photo taken from the same angle, at the same distance, with the same lighting and background. When the only visible change is the teeth, the reveal feels almost magical.
- 2
Choose the right reveal template
In DentalReels, match the template to the treatment: a classic Before & After reveal for whitening and veneers, a Braces template for orthodontic progress, an X-ray style Implant template for restorations, or a Smile Close-Up for detail work.
- 3
Drop in the photos
Place the before and after photos into the template slots. The app aligns them and animates the transition automatically — wipes, morphs and flash reveals are all pre-built, so there is nothing to keyframe.
- 4
Pick the music and pace
Every template ships with a matching soundtrack, and you can change it after the video is created. Upbeat tracks suit TikTok and Reels; calmer music works well for Facebook audiences.
- 5
Export vertical and post natively
Export the vertical HD clip and upload it directly inside each platform. Name the treatment in your caption (for example: teeth whitening, veneers, aligners), add your city, and reply to early comments — first-hour engagement expands reach.
Posting strategy that compounds
- Consistency beats bursts: one or two reveals per week outperforms ten posts in one day.
- Rotate treatments — whitening one week, braces progress the next — so your feed shows range.
- Reuse the same case across platforms: one export works for Reels, TikTok, Shorts and Facebook.
- Save your best reveals to a highlights folder or pinned section so new visitors see them first.
Frequently asked questions
- Which treatments make the best before-and-after videos?
- High-contrast, visual treatments work best: teeth whitening, veneers, smile makeovers, orthodontic alignment and implant restorations. The bigger the visible change between the two photos, the stronger the reveal. Subtle cases still work well as close-up videos, where the template zooms into the treated area to make the difference legible.
- How long should a before-and-after video be?
- Seven to fifteen seconds is the sweet spot on Instagram Reels and TikTok: a short build-up, the reveal moment, and a beat to admire the result. Shorter videos get rewatched, and rewatches tell the algorithm the content is worth pushing to more people.
- How often should a clinic post transformation videos?
- One or two per week is a sustainable rhythm that keeps a feed active without repeating yourself. Batch-create videos from your case archive in one sitting — with a template app each video takes minutes, so a single hour can fill a month of content.
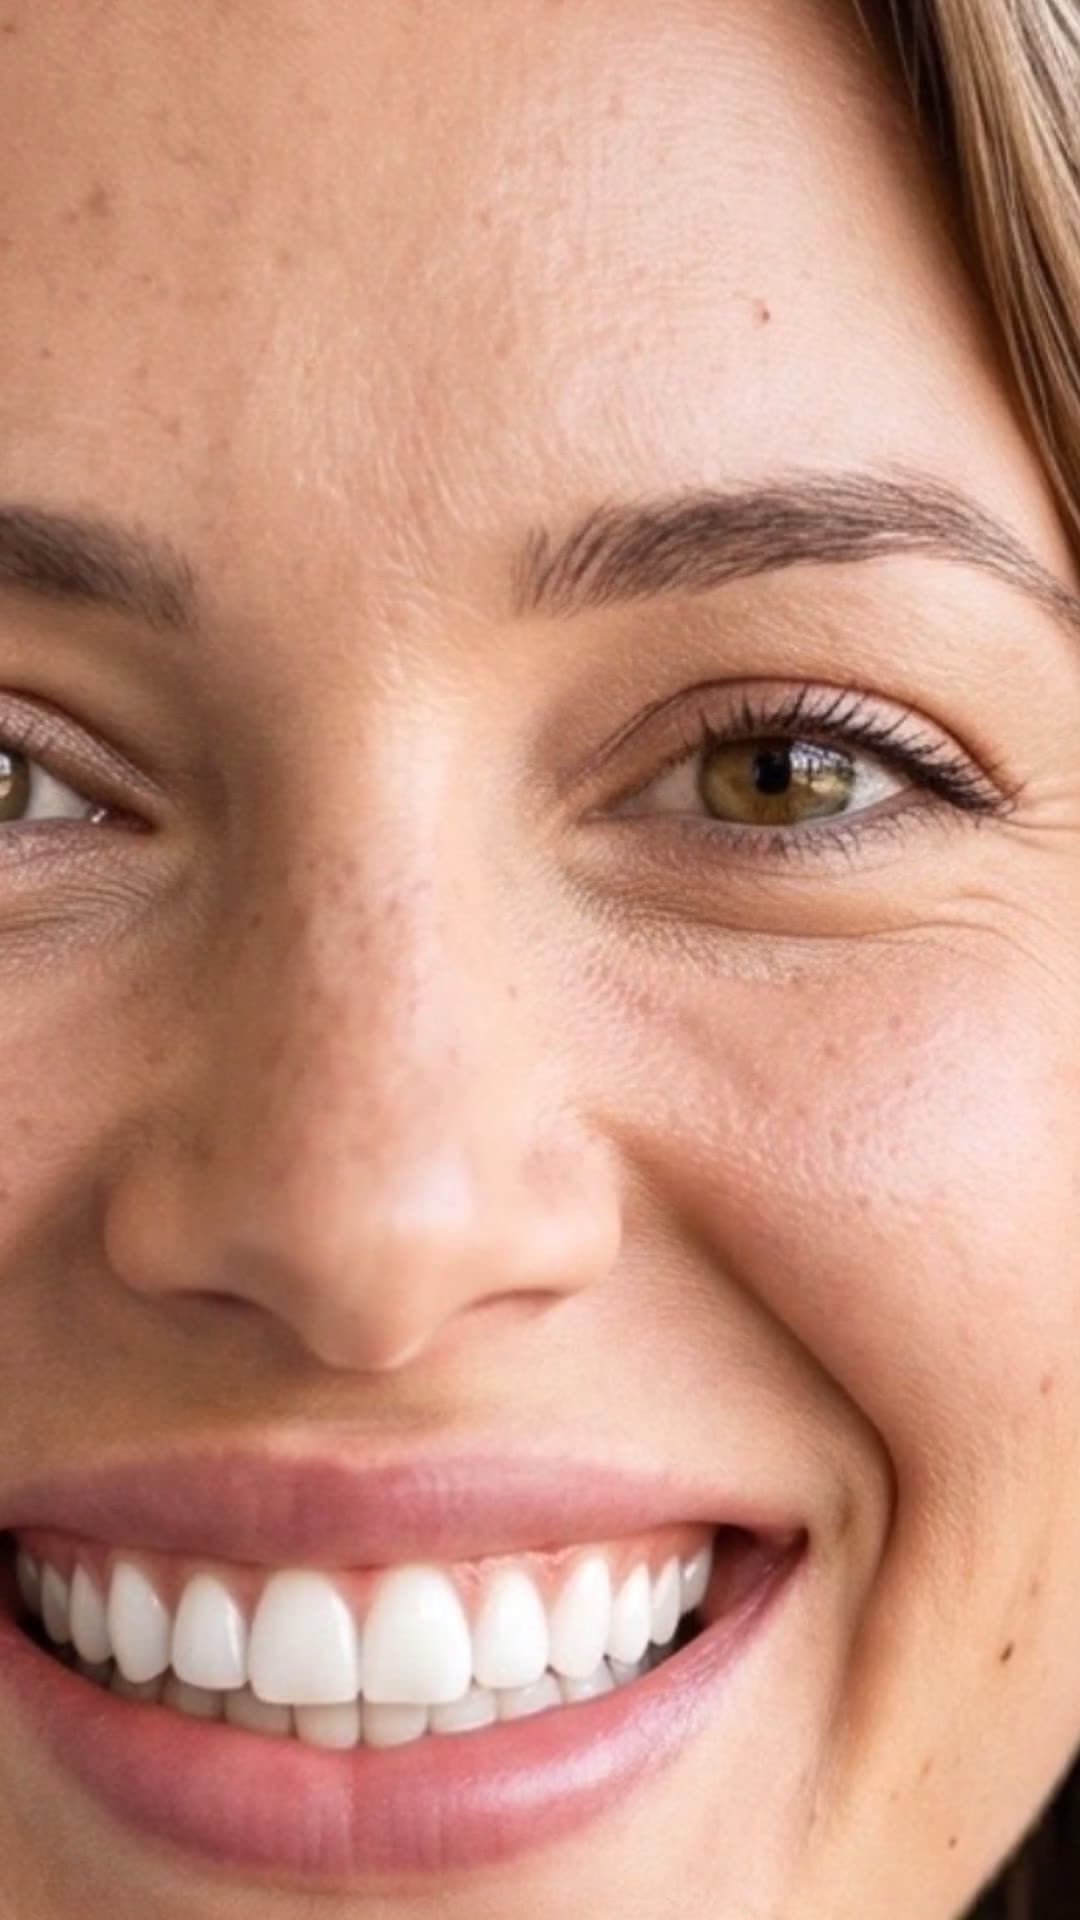
Turn your case photos into videos with DentalReels
Everything in this guide takes minutes with DentalReels: pick a dental template, add your before/after photos, and export a vertical HD video ready for Instagram, TikTok and YouTube. Free on iOS and Android.
Keep reading
How to Make a Dental Video: Step-by-Step Guide for Clinics (2026)
How to make a dental video in 5 steps: consent, before/after photos, template, music and export. A practical guide for dentists — no editing skills required.
6 min read
How to Take Consistent Before-and-After Dental Photos (Free Protocol + Checklist)
A free, repeatable protocol for consistent before-and-after dental photos: fixed setup, camera settings, patient positioning and a printable checklist.
5 min read
Why Before-and-After Videos Outperform Photos for Dental Marketing
Video reveals consistently beat static photos for dental marketing: more reach, more watch time, more emotion. Here's why — and when photos still make sense.
5 min read
AI Dental Video Generator: How to Make Dental Videos with AI (2026 Guide)
What an AI dental video generator does, what it doesn't, and how to turn a before/after photo pair into a cinematic Reels, TikTok or Shorts video in one tap — with photo tips and an honest look at ethics.
6 min read